In this step, we will sew the two soles to the upper, starting at the double marked hole in the heel of the soles.
Notice how the second sole, (laying under the first sole), is slightly larger. This allows the second sole to wrap around the first sole when sewn, without crowding the first sole. All of the stitching holes for the two soles align with the stitching holes in the upper.
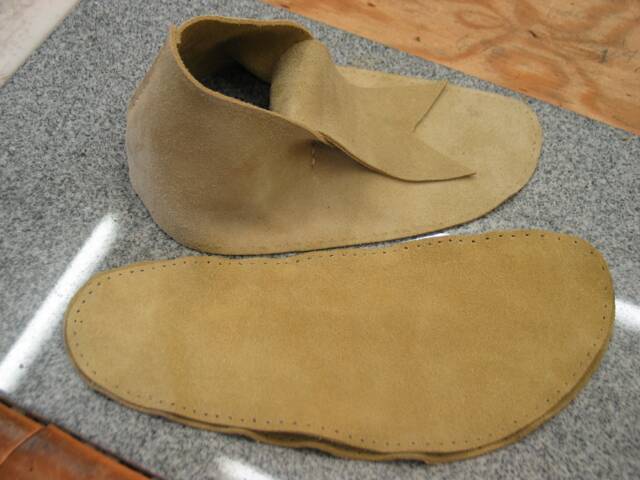
Prepare the thread as before, only this time, only attach a needle at one end. As a general rule, I use one arm-span of thread, plus another 10 inches, to sew on soles. Of course, larger feet use more thread and smaller feet use less thread, but if you are making mocs for yourself, it should be proportional.
Notice the first step is to run the thread from the inside, out the bottom hole in the heel.
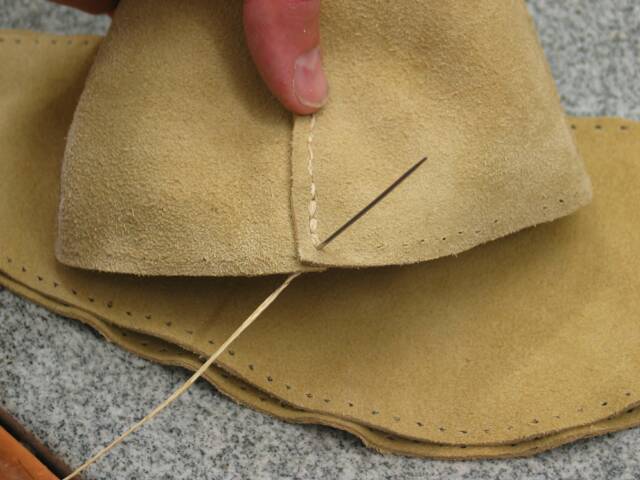
Leave a little over an inch of thread loose at the end, inside the heel.
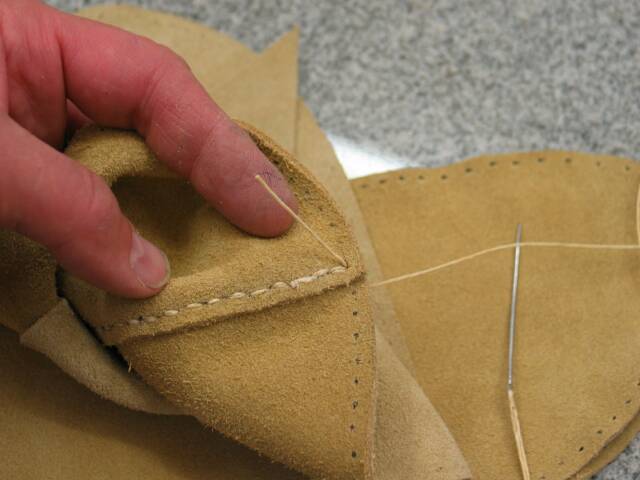
In this photo, you can see how the thread loops around the soles and comes in from the outside, goin' through both double marked starter holes in the soles. Sole #1, the smaller sole, must be the sole that comes in contact with your foot when inside the moc.
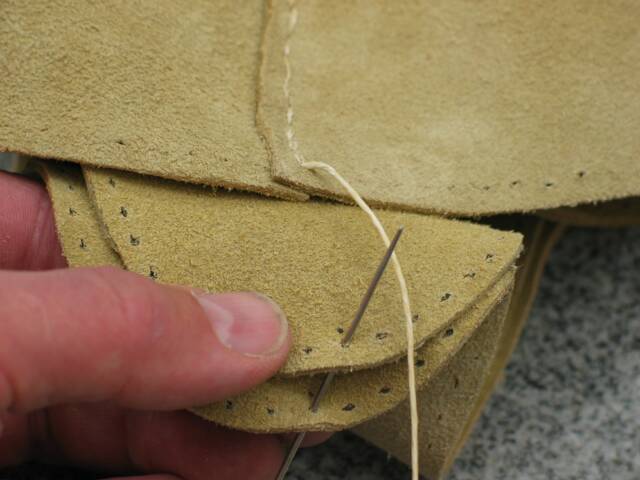
The needle then goes inside the moc to come out through the second hole. Sew the right moc,counter-clockwise around the outside of the foot. Sew the left moc, clockwise around the outside of the foot. It is very important for the fit and function of the mocs to sew them in the correct direction.
Notice the tail of the thread is trapped by the needle to be sewn into the seam.
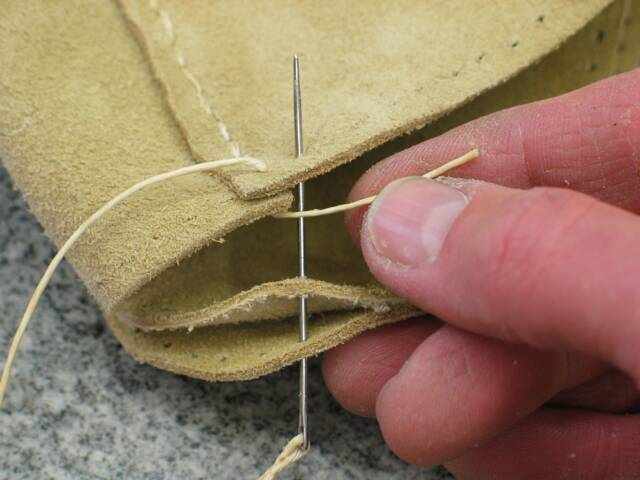
Hold the sole lapped over the upper as you pull the string tight. Keep your index finger on the tail on the inside so you don't pull it out and have to start over again.
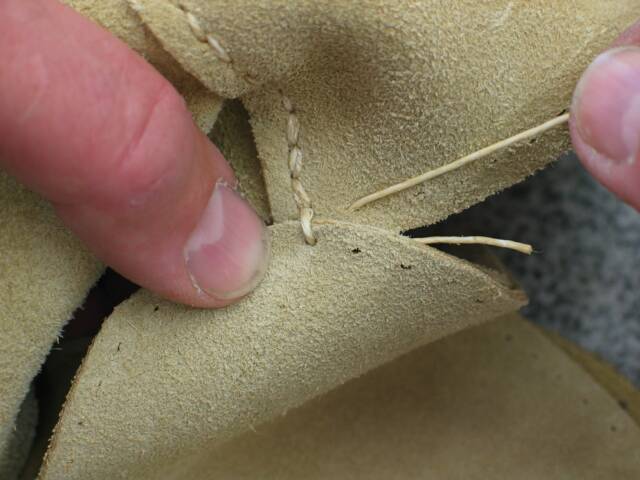
Now, push the needle through the second stitching hole in both soles, and through the third hole in the uppers. Be careful to continue to trap the tail of the thread until it is completely sewn into the seam. This will keep your string from pulling out, and won't leave a knot in your seam to bug you on that long wet trek.
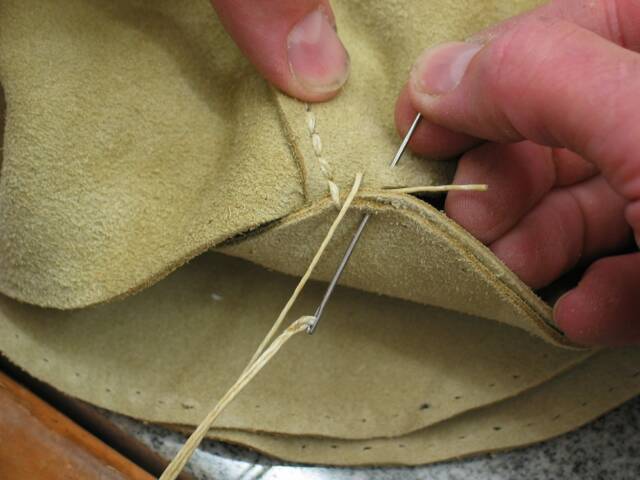
Again, hold the soles overlapping the upper as you pull the stitch tight. This has to be a snug stitch with good overlap to give you the wear and service you need out of field moccasins.
As you continue stitching around, always remember to create a good overlap to insure good service and wear for field moccasins. This becomes even more important as you round the toe.
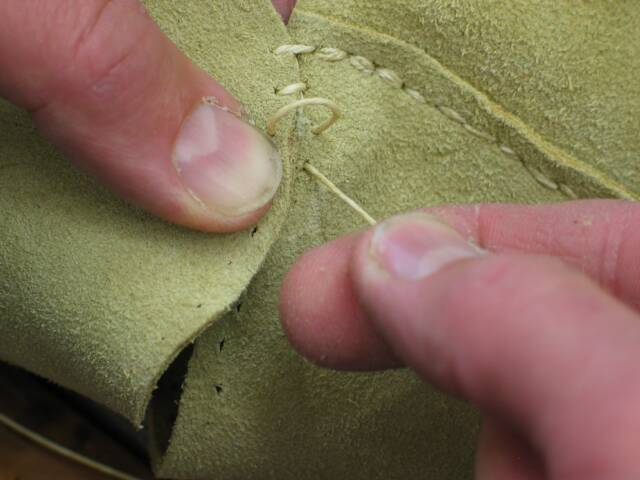
Continue stitching around the outside of the foot keeping a good overlap.
This photo shows the stitching progression up to the toe.
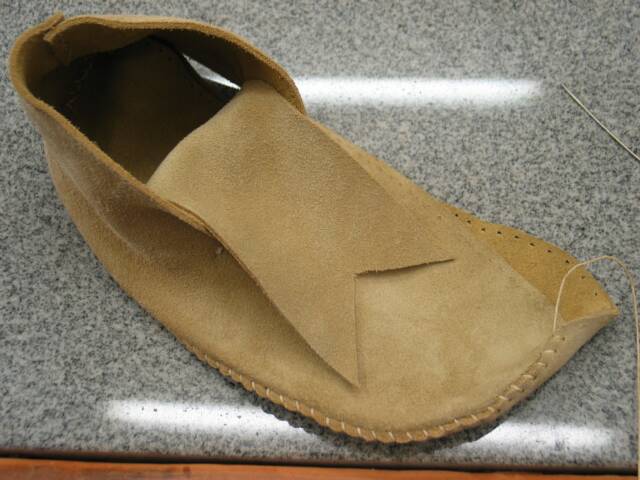
After stitching to the beginning at the heel, leave a little slack in the thread for the final stitch. The thread comes out of the upper just before the seam, goes in through the last hole in the soles, and comes out through the very first stitch holding the upper and soles together. Pull stitch tight and then run the needle into the first hole in the sole, so the thread ends inside the moc.
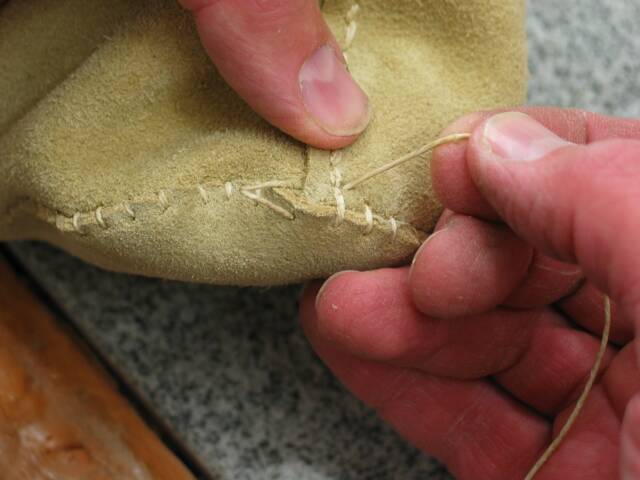
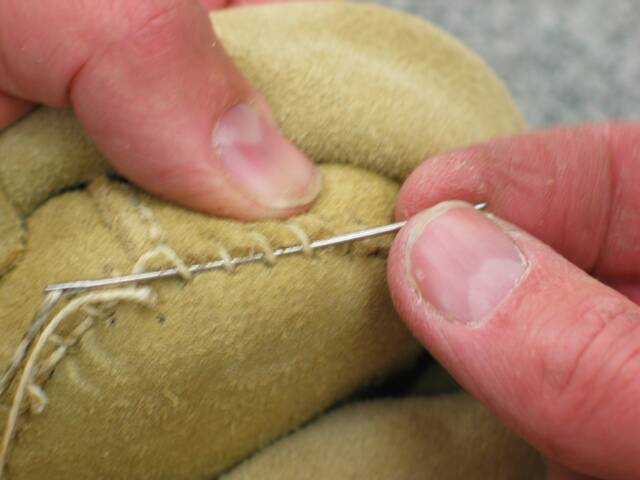
Turn the heel inside out so you can get the the stitches on the inside. Run the needle back under several threads as shown in the photo. Pull the thread tight and cut off the loose end.
Notice how the tail of the thread from the other end has been captured by the stitches and held in place.
At this point, the moccasin is serviceable as a slipper. With a lace attached, it is the low-top version of Ute moccasins.
